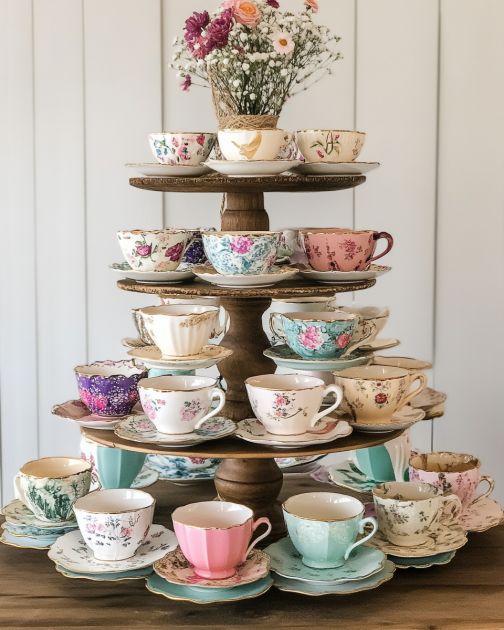
Finding a set of mismatched teacups at a yard sale can be a delightful treasure hunt. These charming pieces, each with their own unique history and design, can be transformed into a beautiful and functional teacup tiered dessert stand. This DIY project not only gives new life to these vintage finds but also creates a stunning centerpiece for any gathering. Perfect for tea parties, bridal showers, or simply as a decorative piece in your home, this tiered stand is both practical and a conversation starter.
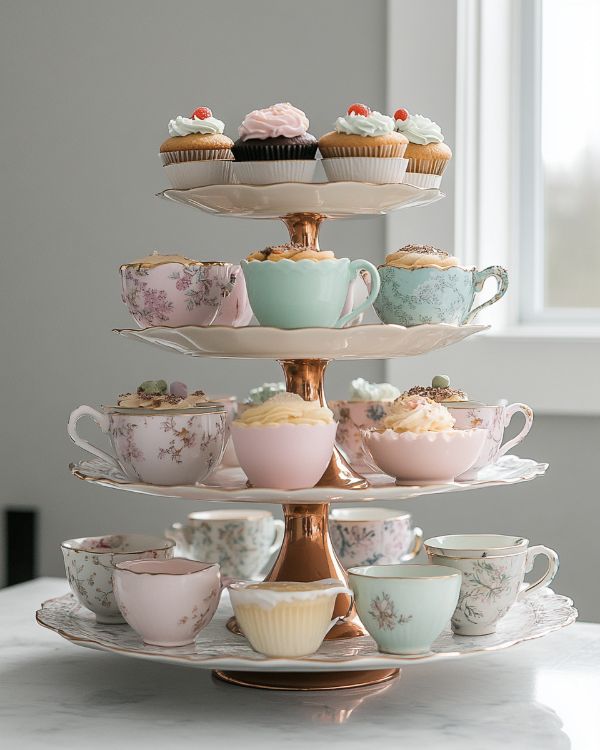
This teacup tiered dessert stand can be styled in a variety of ways to complement your home decor. For a shabby chic look, pair it with lace tablecloths and pastel-colored linens. If your style is more modern, consider using teacups with bold patterns or metallic accents. Place the stand on a wooden or marble countertop to create a striking contrast. Add fresh flowers or greenery around the base for a touch of elegance and to bring in natural elements.
Teacup Tiered Dessert Stand

Materials
3 mismatched teacups
3 mismatched saucers
1 small ceramic or porcelain plate (for the base)
1 medium ceramic or porcelain plate
1 large ceramic or porcelain plate
Strong ceramic adhesive or epoxy
Ruler or measuring tape
Pencil or marker
Directions
Start by selecting your teacups and plates. Arrange them in a way that the sizes of the plates go from largest at the bottom to smallest at the top.
Use a ruler to find the center of each plate and mark it with a pencil or marker. This will help you align the teacups correctly.
Apply a generous amount of ceramic adhesive to the bottom rim of the first teacup and place it upside down in the center of the largest plate.
Allow the adhesive to dry according to the manufacturer’s instructions before proceeding to the next step.
Once the first teacup is securely attached, apply adhesive to the top rim of the teacup and place the medium plate on top, centering it carefully.
Repeat the process with the second teacup and the smallest plate, ensuring each layer is securely attached and aligned.
Allow the entire structure to dry and cure completely before using it to display desserts or other items.
Final Looks
Variations & Tips
To create variations of this teacup tiered dessert stand, consider using different types of teacups and plates. For a more cohesive look, choose pieces with a similar color palette or theme. Alternatively, embrace the mismatched look by selecting teacups and plates with contrasting patterns and colors. You can also experiment with the height of the stand by adding more layers or using taller teacups. For a seasonal touch, decorate the stand with themed items, such as autumn leaves or holiday ornaments, to match the occasion.